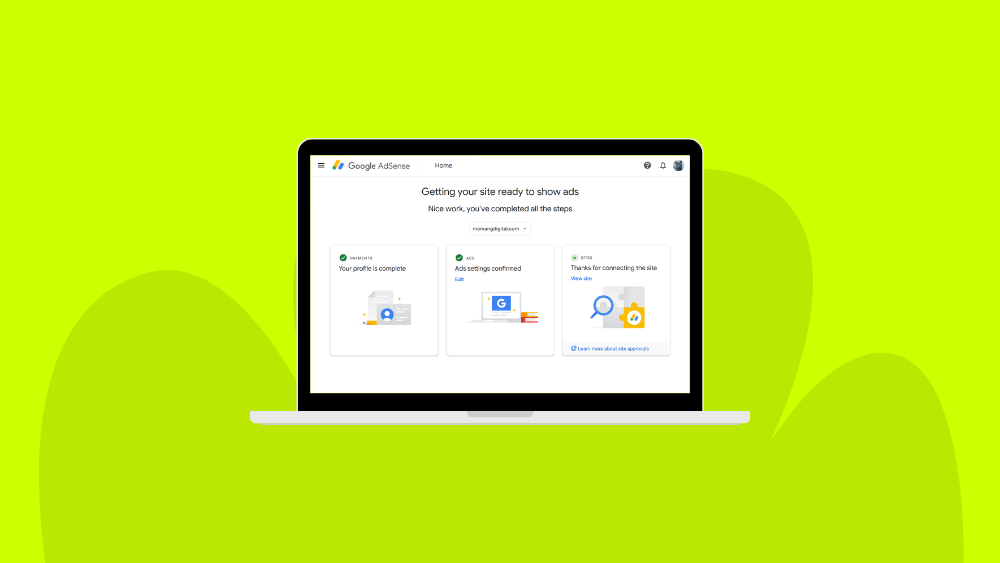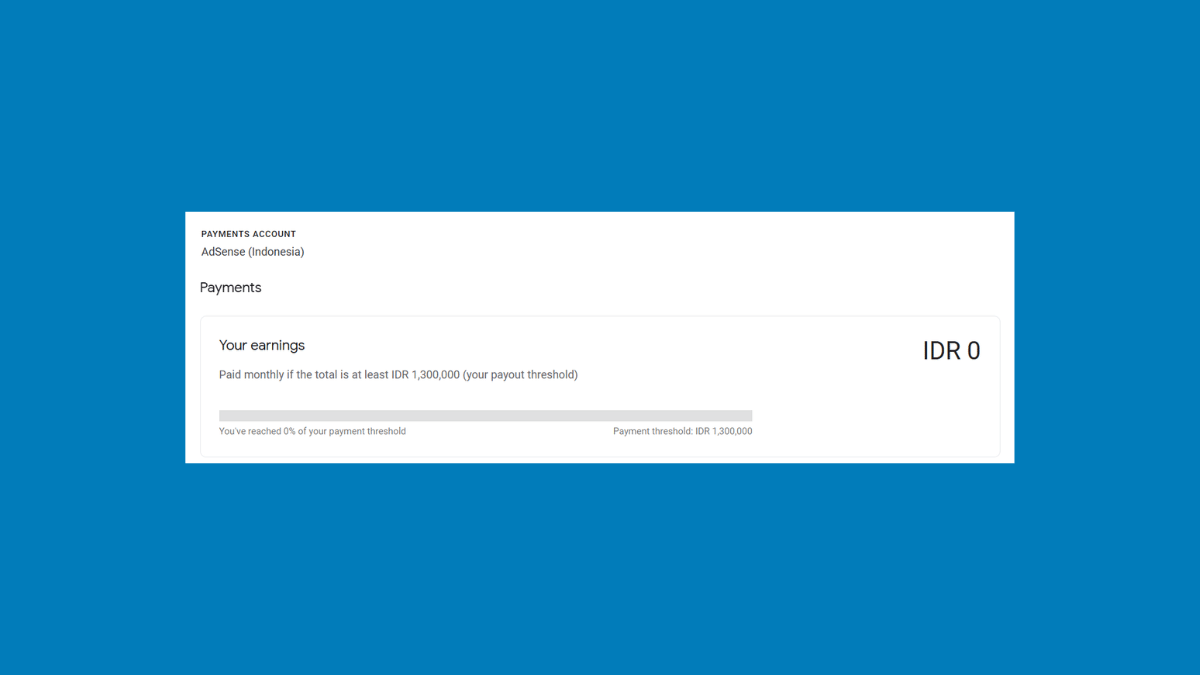
Your AdSense application was approved, Google handed you a block of code, and now you are staring at it with no idea where it goes. Nothing in WordPress has an obvious “paste your ad code here” box, and the guides you find either skip steps or tell you to edit theme files, which is exactly the advice that breaks sites.
This guide walks through three ways to add AdSense code to WordPress, step by step, with the exact menus to click. We start with the method Google itself recommends, cover the manual approach done safely, and finish with placing individual ads in specific spots. You will also learn the one mistake that quietly deletes your ad code, and what to do when ads refuse to appear.
Before You Start: What You Need
Two things have to be true before any of this works. First, you need an approved AdSense account. If you have not applied yet, or you are unsure whether your site is ready, our guide on registering for Google AdSense covers what actually matters before applying.
Second, you need administrator access to your WordPress dashboard, since installing plugins and editing site-wide settings requires it. If you can see Plugins and Appearance in your sidebar, you have what you need.
One honest note before you begin: it is worth having a recent backup. None of these methods are dangerous, but adding code to your site is the kind of change where being able to undo everything in two minutes turns a bad afternoon into a minor annoyance. Our guide on backing up WordPress for free takes only a few minutes.
Method 1: Site Kit by Google (Recommended)
This is the method Google officially recommends, and for good reason: it is free, made by Google, and it handles the code placement for you. It also connects Search Console and Analytics at the same time, so you see everything in one dashboard. If you are unsure which method to pick, pick this one.
Step 1: Install the Site Kit plugin
In your WordPress dashboard, go to Plugins, then Add New Plugin. In the search box on the right, type Site Kit by Google. The correct plugin is authored by Google and has millions of active installations, so check the author name before installing. Click Install Now, wait a few seconds, then click Activate.
Step 2: Start the setup and sign in
After activation, a new Site Kit item appears in your dashboard sidebar. Click it, then click Start Setup. You will be asked to sign in with a Google account. Use the same Google account that owns your AdSense account, since using a different one is the most common reason this setup fails later.
Step 3: Verify ownership of your site
Google will ask you to verify that you own the site. Site Kit handles this itself, so you generally just click through the permission screens and allow the access it requests. This is also where it can connect Search Console for you, which is worth accepting if you have not set that up yet.
Step 4: Connect AdSense
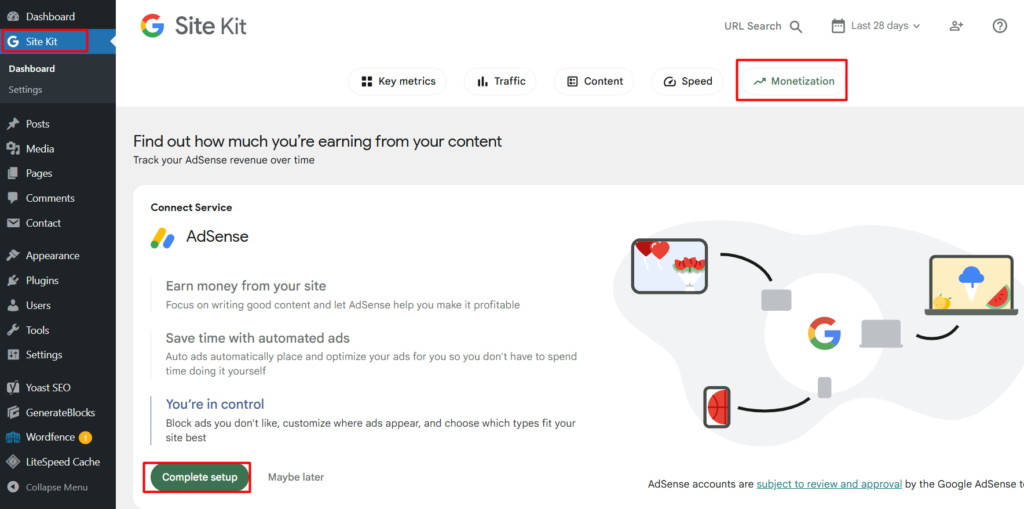
Once setup finishes, you land on the Site Kit dashboard. Find the AdSense section, either on that dashboard or under the Settings tab, and click Connect Service. Site Kit will walk you through linking your AdSense account and will ask permission to place the AdSense code on your site automatically. Allow it. This is the whole point of using Site Kit.
Step 5: Turn on Auto ads inside AdSense
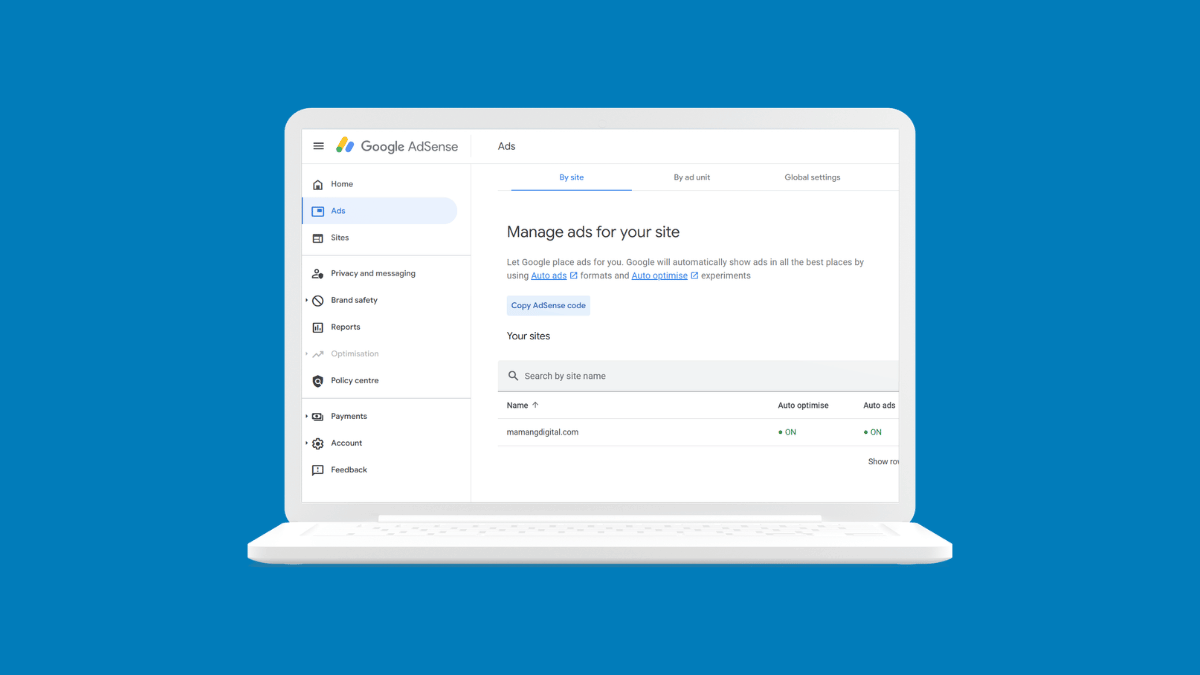
This step catches almost everyone, so read it carefully. Site Kit places the code on your site, but it cannot change settings inside your AdSense account. You have to go to AdSense yourself, open the Ads section, find your site, and make sure Auto ads is switched on.
If you skip this, the code sits on your site doing nothing and you conclude the setup failed. It did not. The switch is simply off. Once it is on, ads begin appearing, though it can take some time before they show consistently.
Method 2: Adding the Code Manually (the Safe Way)
Some people prefer not to install another plugin, or want direct control over the code. That is reasonable, but there is a right and a wrong way to do it, and the wrong way is what most beginners try first.
The mistake to avoid
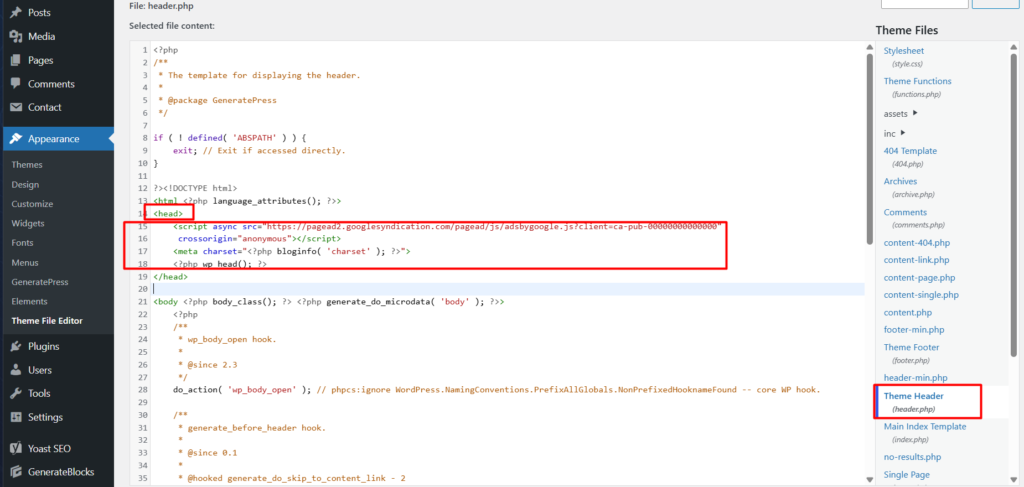
Do not paste the AdSense code directly into your theme files through Appearance, then Theme File Editor. It appears to work, which is exactly why it is dangerous. The next time your theme updates, your edits are overwritten and your ad code silently disappears. You lose earnings and may not notice for weeks.
Editing theme files directly can also break your site outright if a character lands in the wrong place. This is the same caution we give in our guide on securing WordPress without paid plugins, and it applies just as strongly here.
Step 1: Get your code from AdSense
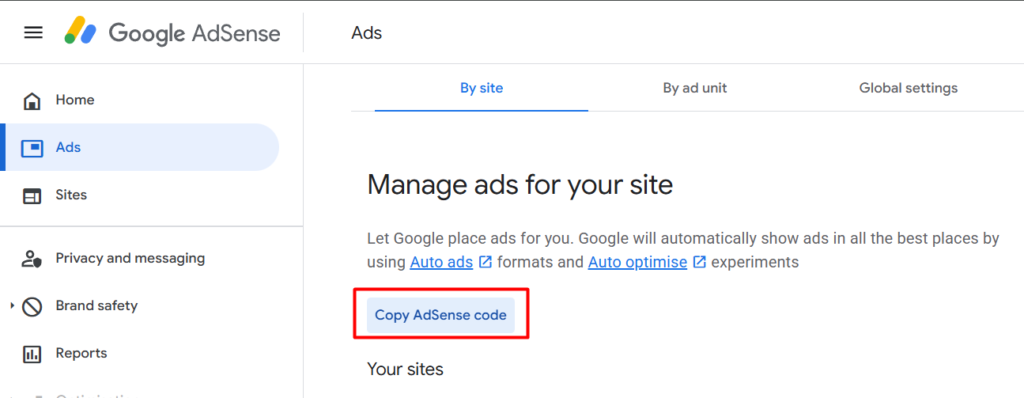
In your AdSense account, go to the Ads section and find the option to get your code for a site. AdSense gives you a snippet that includes your unique publisher ID. Copy the entire snippet exactly, without adding or removing anything, and paste it somewhere safe like a plain text note while you set up the next step.
Step 2: Install a header and footer plugin
Go to Plugins, then Add New Plugin, and search for a header and footer code plugin. Several free, well-reviewed options exist for exactly this purpose. Install and activate the one you choose, sticking to plugins from the official WordPress directory with strong ratings and recent updates.
This is a rare case where adding a plugin is genuinely the safer choice, because the plugin stores your code separately from your theme, so theme updates cannot wipe it out.
Step 3: Paste the code into the header section
Open your new plugin’s settings, which usually appear under Settings or as their own sidebar item. Find the field labelled Header or Scripts in Header, and paste your AdSense snippet there. The header is where AdSense code belongs, since it needs to load before the rest of your page.
Click Save. Your code is now on every page of your site, and it will survive theme updates. As with Method 1, remember to switch Auto ads on inside your AdSense account, or nothing will display.
Method 3: Placing an Ad in One Specific Spot
The first two methods let AdSense decide where ads appear. Sometimes you want an ad in one exact place, such as your sidebar. For that you create an individual ad unit and place it yourself.
Step 1: Create an ad unit in AdSense
In AdSense, go to Ads, then By ad unit, and choose the type of ad you want, with display ads being the standard choice. Give it a name you will recognize later, such as “Sidebar ad”, then click Create. AdSense generates a code snippet for that specific unit. Copy it.
Step 2: Add it using a Custom HTML block
In WordPress, go to Appearance, then Widgets. Choose the widget area you want, such as your sidebar, click the plus button to add a block, and search for Custom HTML. Paste your ad unit code into that block, then click Update.
Note that if you use a block theme, your Widgets screen may not exist, and you would instead add the Custom HTML block through the Site Editor. Our guide on customizing WordPress without code explains which system your theme uses.
Before you start placing ads everywhere, it is worth knowing which positions actually perform and which ones drive readers away, which we cover in our guide on AdSense ad placement best practices.
Ads Not Showing? Work Through This List
Blank spaces where ads should be is the single most common complaint after setup, and it is almost always one of a handful of causes. Check these in order.
Be patient first. New ad code often takes hours, sometimes longer, before ads serve consistently. If you set it up ten minutes ago, wait before troubleshooting anything.
Check Auto ads is on. As covered above, this lives inside your AdSense account, not WordPress, and it is the most frequent cause of a correct setup showing nothing.
Clear your cache. If you use a caching plugin, it may still be serving the old version of your pages without the ad code. Purge the cache and reload.
Disable your ad blocker. An embarrassing number of publishers troubleshoot for an hour before realizing their own browser was blocking the ads. Check in a private window with no extensions.
Confirm the snippet is actually there. View your site, right-click, choose to view the page source, and search for your publisher ID. If it is missing, the code did not save where you thought it did.
Check your AdSense account status. If there is a policy issue or your account is not fully active, ads will not serve regardless of your WordPress setup. Our guide on AdSense mistakes that get accounts suspended covers what to watch for.
Which Method Should You Use?
For almost every beginner, Method 1 is the answer. Site Kit is free, official, handles the code placement correctly, survives theme changes, and gives you Search Console and Analytics data in the same dashboard. There is very little reason to make this harder than it needs to be.
Method 2 suits people who want fewer moving parts or prefer handling the snippet themselves. Method 3 is not really an alternative but an addition, useful once you want control over a specific position rather than letting AdSense decide everything.
Whichever you choose, resist the urge to combine several methods at once. Running Auto ads alongside multiple manually placed units is how pages end up cluttered, slow, and unpleasant to read, which costs you more than the extra ad slots earn. Set up one method properly, check how your site looks on a phone, and let it run before adding anything else.
Frequently Asked Questions
Where exactly does AdSense code go in WordPress?
The main AdSense snippet belongs in your site’s header, so it loads before the rest of the page. The safe ways to put it there are the Site Kit plugin, which handles it automatically, or a header and footer code plugin. Never paste it directly into theme files.
Why did my ad code disappear after a theme update?
Because it was pasted directly into a theme file. Theme updates replace those files, wiping out any manual edits. Using Site Kit or a header and footer plugin stores your code separately from the theme, so updates cannot remove it.
I added the code but no ads are showing. What is wrong?
Most often Auto ads is still switched off inside your AdSense account, since plugins cannot change that setting for you. Other common causes are caching serving old pages, your own ad blocker, or simply not waiting long enough, as new setups can take hours to serve ads.
Do I need a paid plugin to add AdSense to WordPress?
No. Site Kit by Google is free and officially recommended, and free header and footer plugins handle the manual method perfectly well. Paid ad management plugins exist and offer advanced features, but nothing about basic AdSense setup requires paying for anything.
Can I use Auto ads and manual ad units together?
Technically yes, and some experienced publishers do combine them deliberately. For beginners it usually backfires, producing cluttered pages that load slowly and frustrate readers. Start with one method, see how your pages look on mobile, and only add more once you are confident it improves rather than crowds the experience.